Category: WoodWorking

Pistol Crossbow Antenna Launcher

Sometime around June 2017, I built an end fed antenna with match box. End feds are not … great antennas but they are decent for the space they take up in a go kit. The way mine is currently configured works well down to 40M. End feds are basically a long length of wire, with a 9:1 UNUN to help your tuner match it to multiple amatuer radio bands.

The real question though, is how to get the blasted thing up in a tree. Generally, the higher you can get an antenna, the better off you will be (unless you’re trying to do NVIS, but that’s a whole other subject). I considered using a modified spud gun, but I haven’t had good luck with spudguns in the past. I also didn’t like the idea of having to either hand pump the cannon or bring an air compressor. The NPOTA I attended we did not have an easy solution for powering a compressor either. So, here’s the solution I came up with.


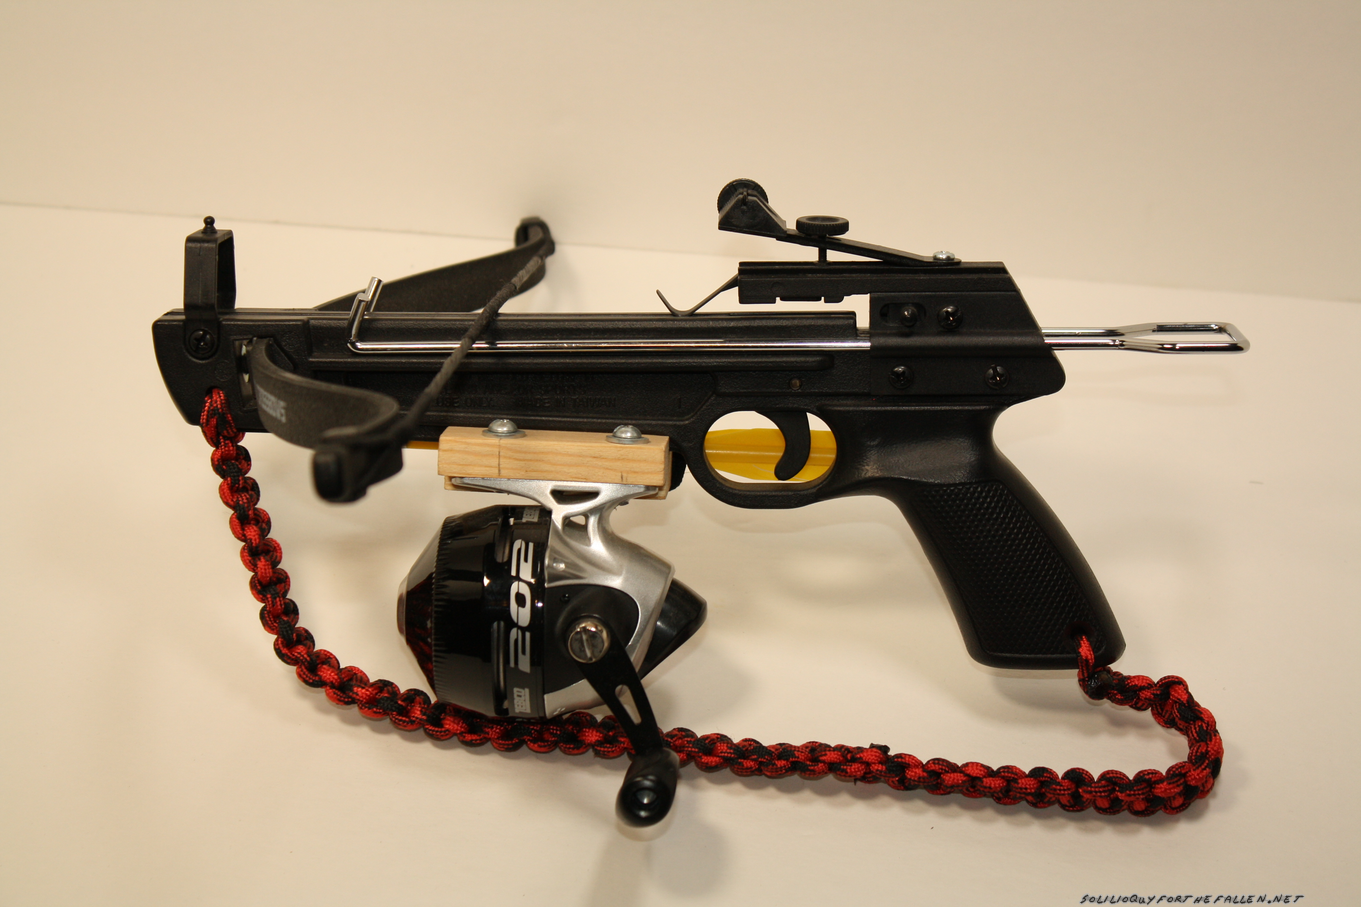
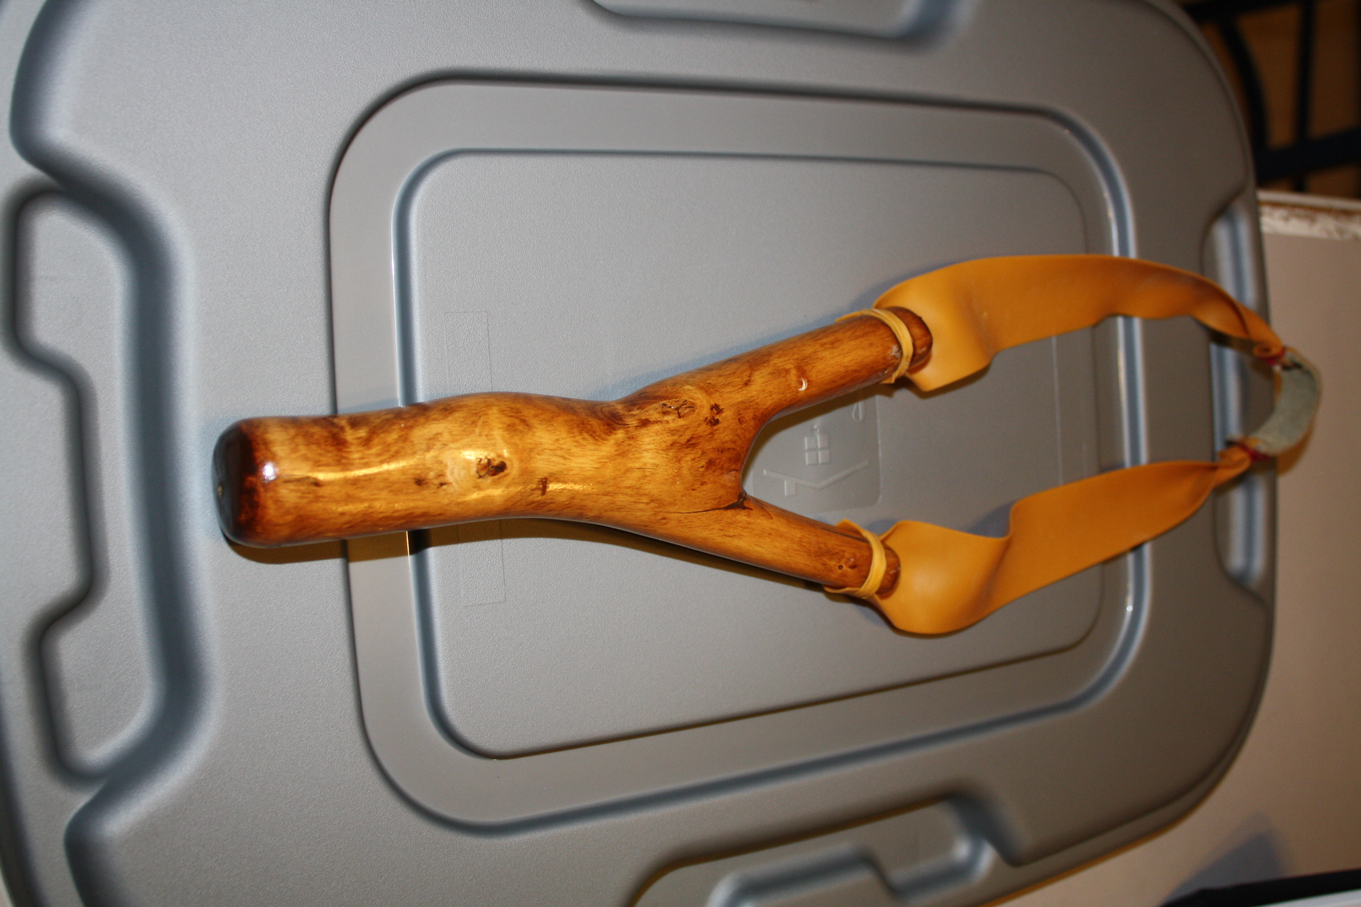
Originally, I had been planning on mounting a fishing reel onto a slingshot and launching a lead weight with the slingshot.  However, I was at a local farm supply store and saw a Bolt Crossbow.  I thought it was a much better solution (and more accurate) then a slingshot and smaller then a bow & arrow, so I bought it.  I had gotten the zebco 202 on clearance at walmart that I was planning on mounting to a slingshot for getting ropes high in trees.  Since this crossbow can handle both purposes, I decided to use it for that.

Then, I had some layout and decisions to make.  I wanted to have two bolts on board the crossbow, and then the fishing reel.  With that information, I laid out how large a piece of 1×4 I needed.  I cut a channel with the table saw for the crossbow to fit in down the middle of the block, then drilled two holes in the block.  Then I drilled and tapped the crossbow to mount the block.  I drilled two holes to mount the fishing reel, then drilled and tapped the reel so I could mount the reel to the block.  Finally,  I drilled two holes on the opposite side of the reel for the bolts to fit in.  A hair tie (stolen from a sister) retains them.

All in all, a pretty simple build.  I keep toying with building another version, able to be taken down making it smaller and more compact, based on an ar15 pattern rifle.

Parts List:

Additional Resources


A Simple Pencil Cup

I just bought myself a new camera lens for my rebel.  The venerable nifty fifty.  I also just built this, so … photo time.

Smart self would have also taken photos with the kit lens to compare against, but I was not operating as smart me at the time.


Bonus feature:  my janky photo booth!  That’s three sheets of Dollar Store foam board (in eggshell or white or ivory or puce if you like) on a tv tray and a <a href=”https://www.amazon.com/gp/product/B016YPA9Q4″>Aputure Camera Light</a> duct taped to a microphone stand.  Janky for sure, but it works.  Remember, if it works, it works and 90% of the time – that’s what matters.


Little Stinger Slingshot

Just a fun little project.

img_3070-jpg-convert

img_3072-jpg-convert


Another Slingshot

Boredom struck again today so I posted this slingshot I finished earlier last week.

3 sheets of 1/2″ oak plywood glue together, then cut to my own template and sanded like crazy. Stained with a Chardonnay colored stain, and then I’m got about 6 coats of polyurethane on it.

Again, I’m using theraband gold for this, but with longer band so that I can shoot butterfly style like Joerg does – I’m impressed by the power I think this thing has.

Thanks, and bye-bye 😀


Slingshots

This is a sling shot I made earlier this year after viewing and then probably becoming addicted to Joerg Sprave’s slingshot channel.  It started with his video of launching a machete from a slingshot crossbow.  You can find Joerg’s blog at http://slingshotchannel.blogspot.com/.

I have no intentions (right now) of doing something as crazy as his machete launcher.  Perhaps not least because its really freaking cold out right now.  To cold for rubber to function properly.

I made this one after the frustration I experienced from my commercial sling shot and not being able to hit anything.  This one works much better, but produces alot of hand slaps.  I think this is mostly due to technique then the slingshot.

I’m working on another slingshot (which does not have the hand slap problem even with my poor technique), but it remains unfinished and I’ll post pictures when I’ve completed it – and take the time to do so.

I’m using tapered theraband gold for bands as well as custom pouches.  You can find theraband on ebay.

As Joerg would say, thanks and bye-bye.


Custom Guitar Case, From Scratch.

This post is about my new electric guitar case.  I lone my electric guitar to my brother because he plays the guitar, and I do not.  He travels with the guitar so much, that the old case was beaten into the ground and as such, the guitar was desperately in need of a new case.  The old one served well, but it was breaking by the small storage area and as a result the side was falling out which was making the case useless.

My thought process on things like this starts with, “Can I make it?”.  The answer is yes, I can make a guitar case.  Maybe not a fun curvy case, but I don’t really like those kinds all that much anyway.  My next question is, “I can make it, but will it be cheaper?”  I foolishly thought that I could.  This is technically true, provided you picked one of the high end cases.

Before I show pictures, let me tell you some of what I did here.  Each wood edge was glued, nailed, and then clamped overnight.  I used 1/2 inch oak plywood for the outside and a few other places.  There is a 2×4 in there that supports the neck and keeps the headstock from taking weight.  For a finish, I used three coats of stain and three coats of polyurethane.  Internally, there’s 2 layers of padding everywhere the guitar will contact, and four on the lid to build up the padding and to keep the guitar from sliding around.

The balance is pretty decent when the guitar is in the case.  Sans guitar however, its forward heavy.  The whole thing itself is just heavy.  I wouldn’t suggest letting go accidentally.  Though the case and guitar would probably be fine, your toe would describe its urge to fall off in a colorful, metaphorical way.  As far as the guitar fitting in the case, I can shake it and the guitar won’t move which is a good thing.

I can’t really tell you guys the build time, do to the fact that I didn’t keep track and worked harder the closer I got to deadline.

The guitar itself is a Vantage, though I haven’t managed to find out much anything else about it and only a little more about the brand.  The light spots you see on the exterior of the guitar case are the reflection of the lights overloading the light sensor in my camera.  I’m serious.  You can see yourself when you look at it.

Yes, there’s definitely some things that could have been done better.  But, honestly, I don’t think I would have known without having previously built a guitar case.


Finishing Notes

Introduction

I want to say this to start: Follow the directions on the can. It may seem like a cop-out to say, “Follow the directions on the can”, but they were put there for a reason. They stain company spends alot of time researching the best way for you to apply their stain. Trust them, they know what they are doing. This are just my general process notes that go a little beyond what is on the can, and is what has worked for me.

Sanding

First, sand your wood surface really well. For flat surfaces, I sand with a random orbit sander and work through 80 grit, then 150 and a final sand with 220. If I’m not sanding something that’s flat, like a walking stick, I run a first sand with the orbit at 80 grit, then sand by hand through 80, 150, and 220. Its important imperative that you sand the surface you want to finish. It brings everything down to a nice, smooth surface and makes it easier for polyurethane to seal. Beautiful, smooth to the touch finishes happen because somebody spent extra time sanding them. No amount of fancy brushwork will save you from a poorly prepared surface.

Stain

Second, stain. If what you’re staining is a softwood, get the can of pre-stain. It makes the finish work so much better by sort of sealing the wood a touch and smoothing out the final coloring. If its a hardwood, you won’t need it. Stir the can of stain, don’t shake. Shaking doesn’t do as good of a job as stirring as well as introducing air bubbles into the stain.

As far as which stain to use, I also don’t care for the gel stains. I bought a can, opened it, then took it back. It’s too thick for my liking. Oil based is what I prefer as it goes on easier, and towels off well. As far as brand, I find myself using minwax. They seem to be a fair price for the result. No, they don’t sponsor me.

Apply with a brush in the grains’ direction. Apply liberally, but not to much. Wipe it off with a clean, dry rag. This is what I find leaves a nice smooth stain coating on the wood. Leave for a few hours, then reapply. Clean your brush after each application, unless you’re using a disposable which you can pitch. Dry overnight or longer before moving onto the poly urethane. Or course, if you don’t want to stain the wood, you can skip staining and head to the next step.

Polyurethane

Using polyurethane, again apply to the can’s directions. After you put on a coat, start brushing from the inside out to the edges very lightly so you start to draw off the larger bubbles. You need to brush it very, very lightly for this to work. Allow to dry 3-4 hours, as per can directions. Don’t even count on that first coat being enough. Sand it with 220 lightly, just enough to turn the surface opaque but not to sand through to the stain. Coat again. At this point, you should consider a third coat. I usually end up with three coats and the surface is very smooth at that point, and quite nice and shiny. Sand with 220, then apply the poly. Allow to dry overnight on the final coat.

Brush Cleanup

Clean the brush thoroughly after working with the polyurethane, unless you want a plastic brick for a brush. Even wrapped in a bag, it will harden within 24 hours, leaving you with a worthless brush. I can’t stress how important it is to clean the brush each and every time. If you invest in a quality brush and take time to clean it after use, you will actually save money over time.

In Conclusion

Making a good finish on something is not hard. It just takes careful preparation, lots of sanding, and a little thought into how you apply the finish.