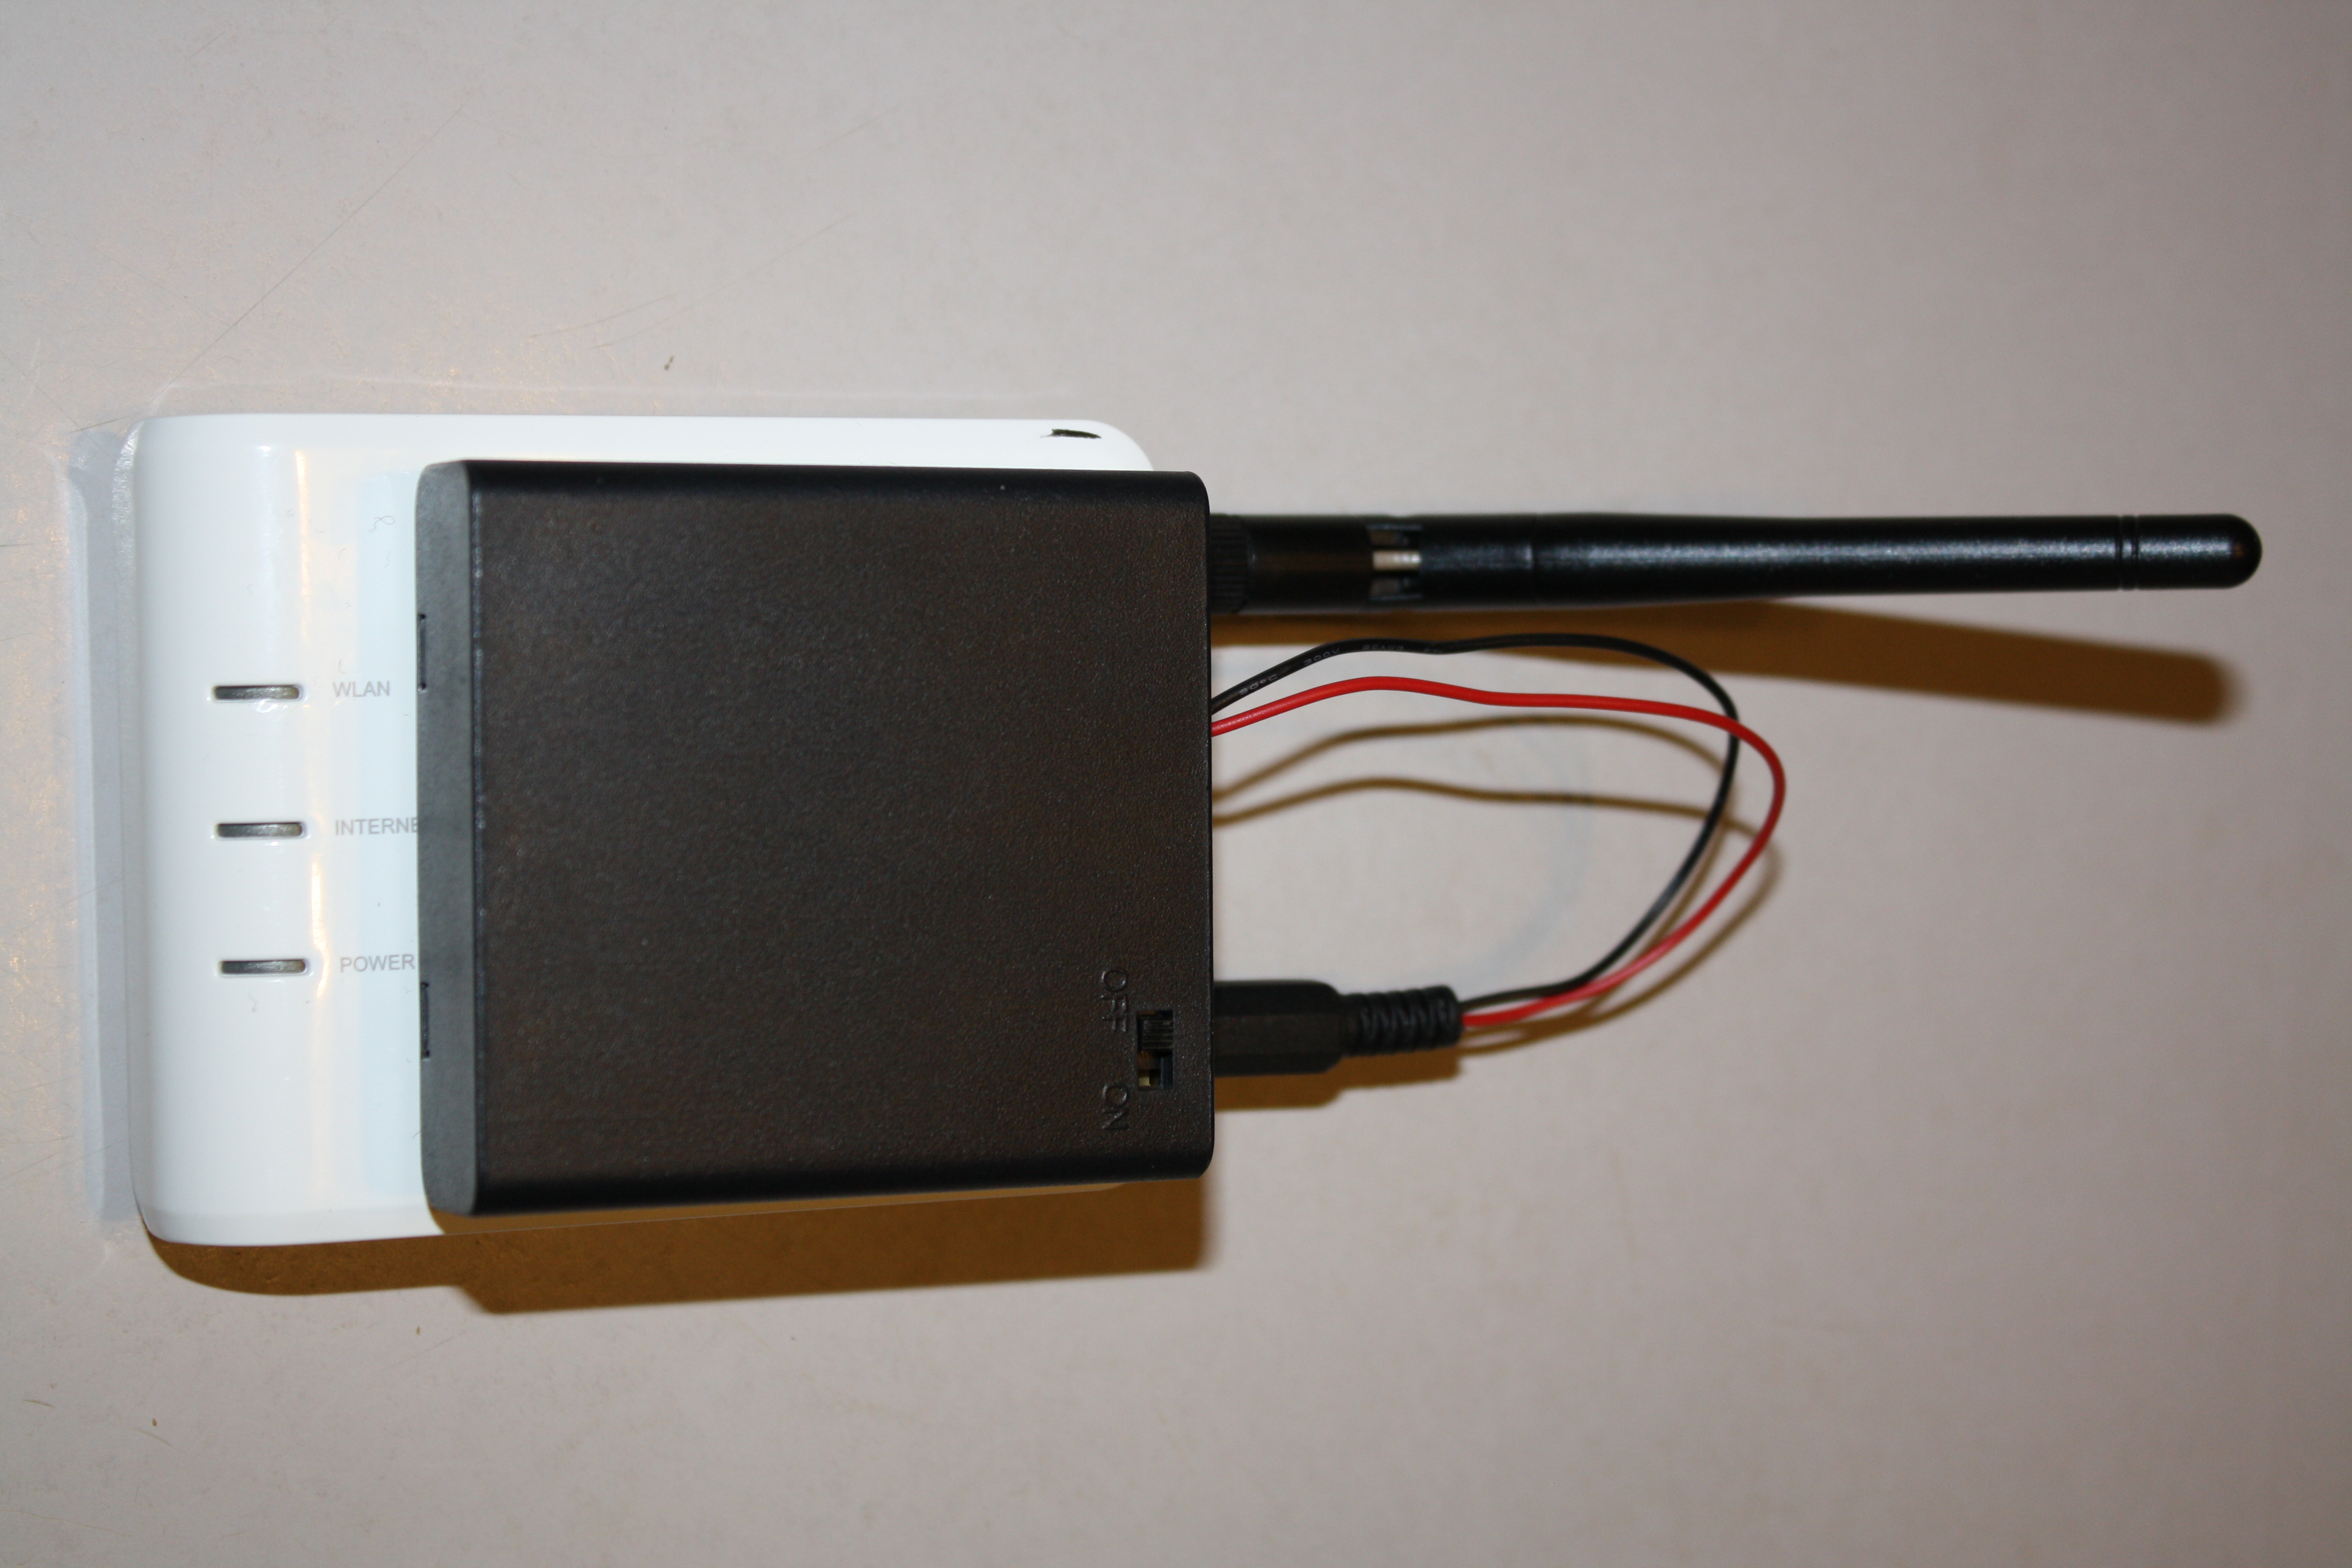
Does that plug belong there? Or not? I hope it looks like it does.
This is a 2 piece addition to the fonera so that you can more easily access the serial interface of the device. I’ve found that it makes talking to the fonera via serial so much more stable versus connecting with the cables onto the board.
I’m a big fan of sparkfun. I’ve always been treated well, shipping is fair, and they are more then willing to lend a hand with your problems. I source what I can from them. They have a device similar to the FTDIfriend from adafruit – but I have not used it so I can’t recommend it to you.
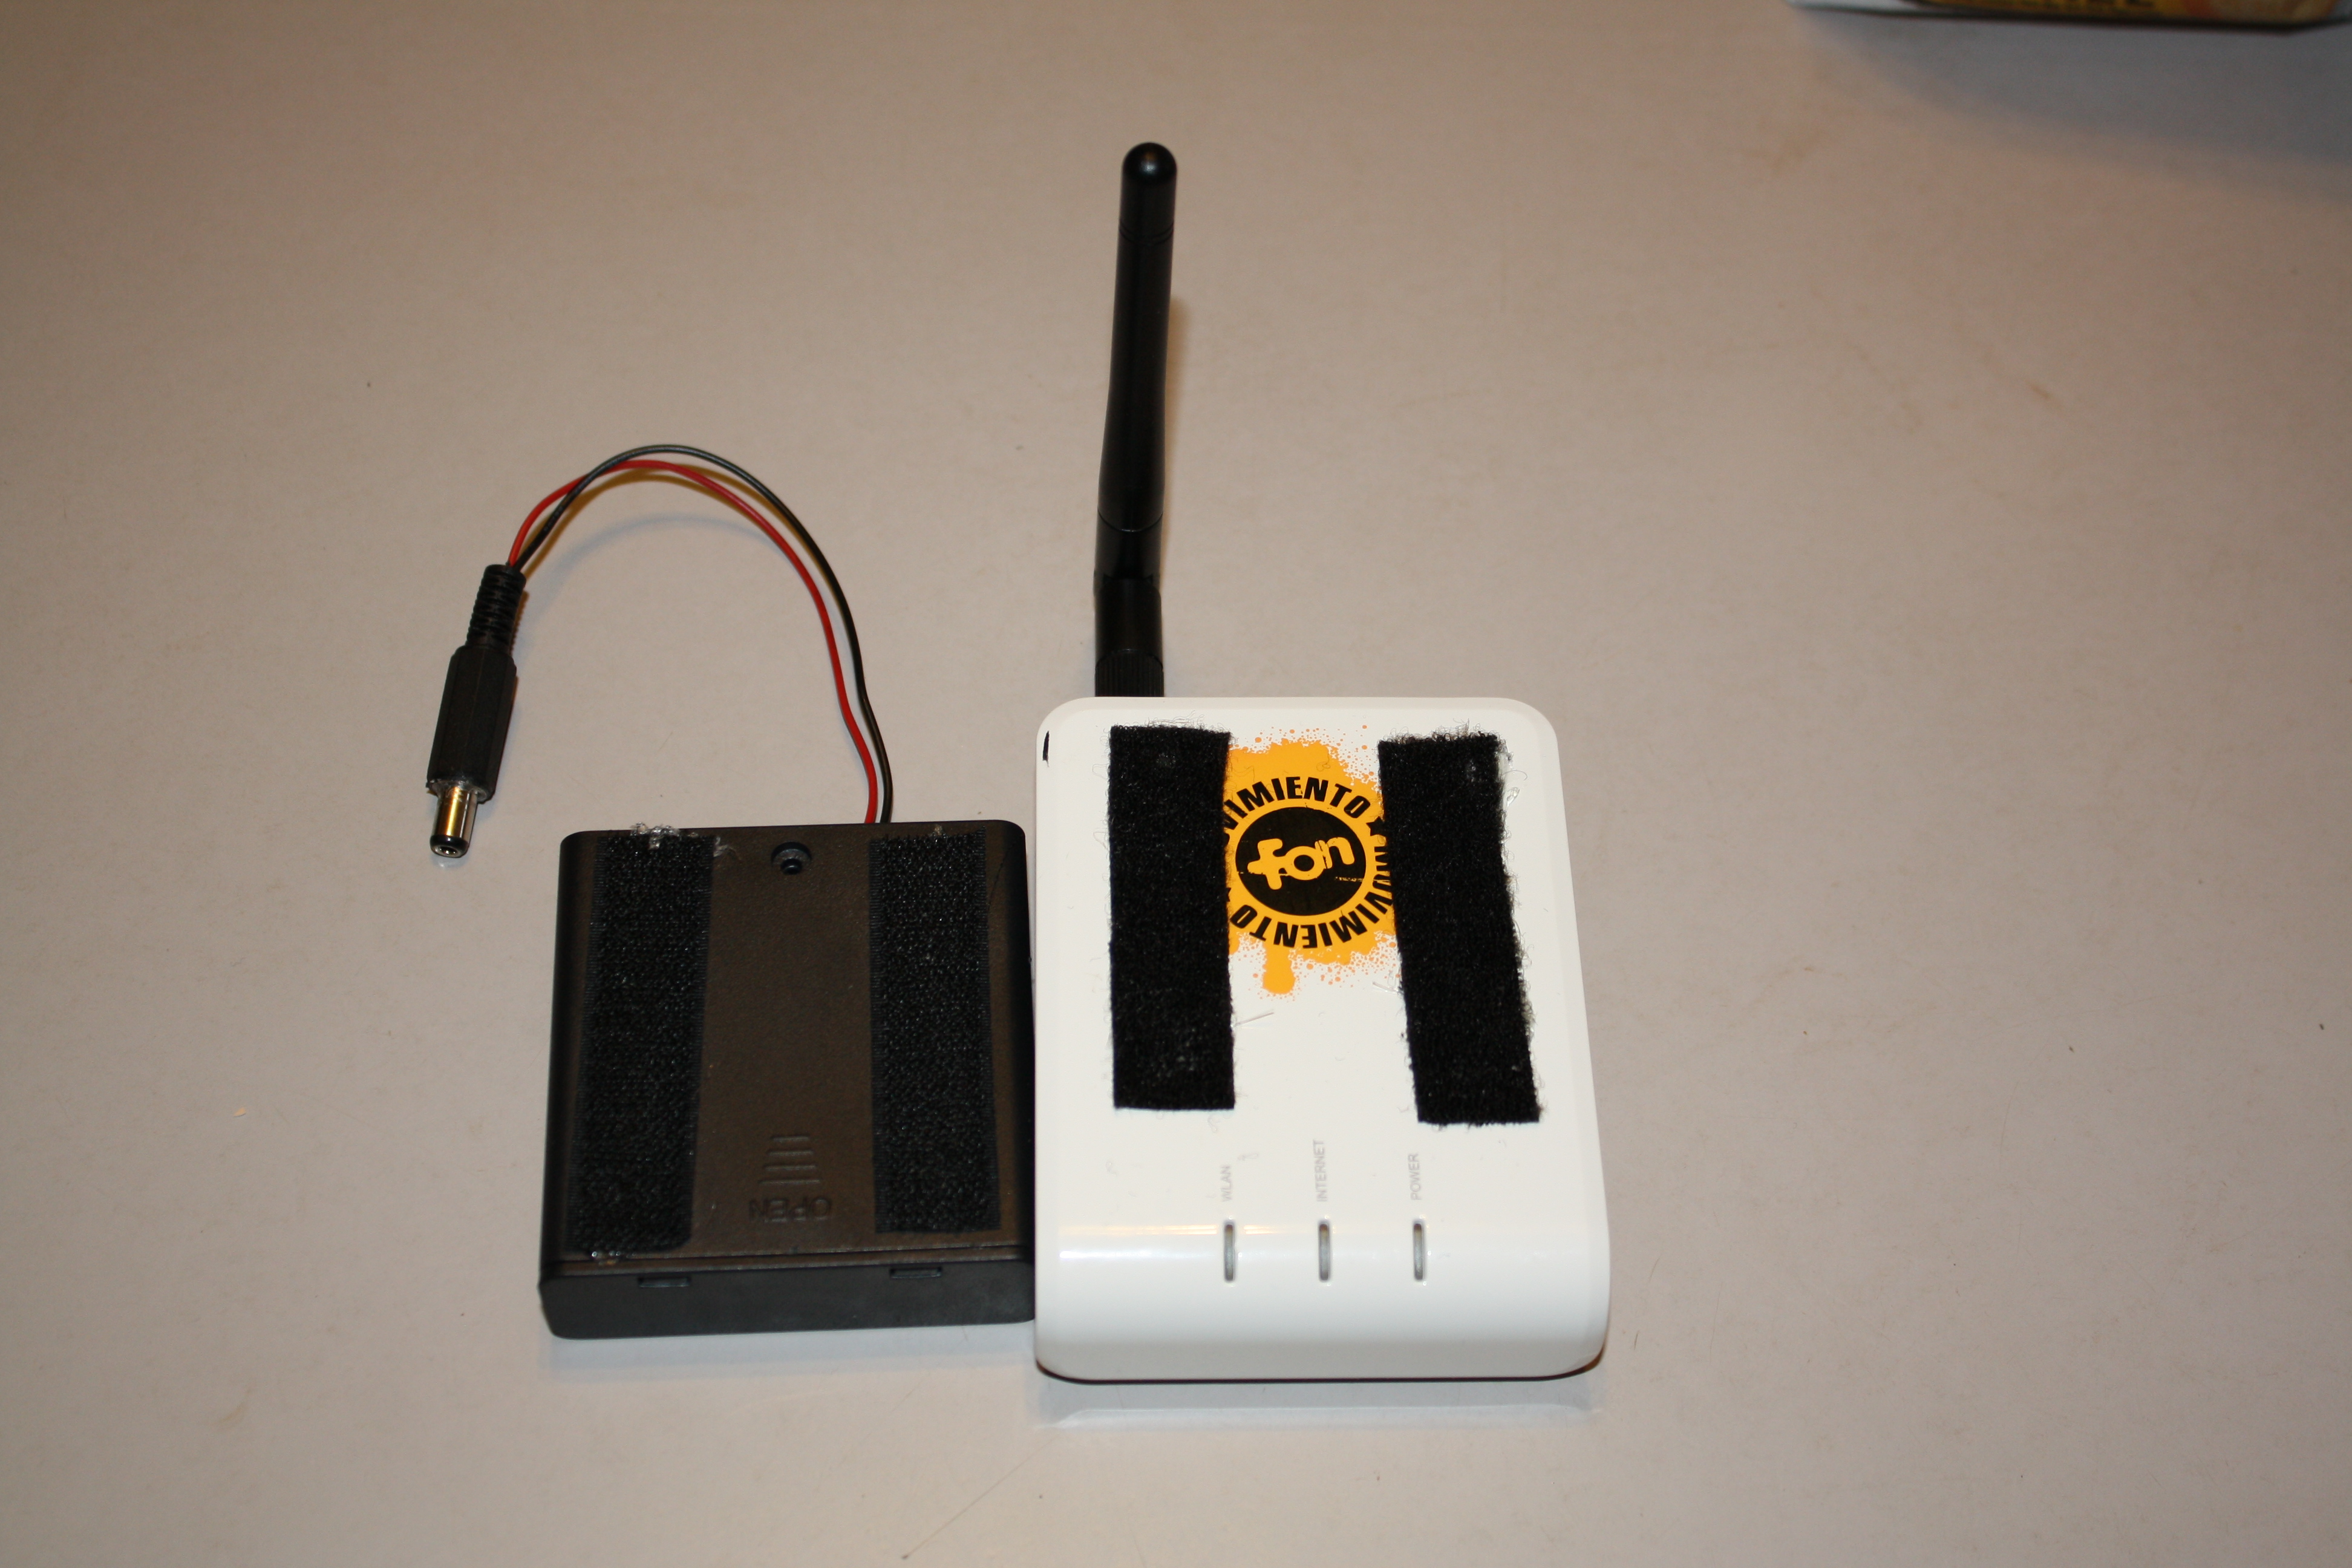
Note that in my experience sometimes the fonera is willing to boot with a seriel cable connected, and other times it is not. This precludes just mounting the FTDFriend inside of the fonera (plus its quite hard to convince everything to fit). Using a jack system like this allows you to plug into system just after powering on so you don’t have to worry about whether or not the fonera is happy today.
- The same adafruit usb to serial converter I advised earlier.
- A 3.5 mm panel mount stereo audio jack
- a 3.5 mm stereo audio plug
- shrink wrap
- Soldering iron
- Optional: The Heaterizer XL 3000. The instructions are the best part, and it works better then a lighter.
- Drill, drill bit the size of the 3.5 mm audio jack. (What? you don’t have a caliper?)
Installing the Fonera Side
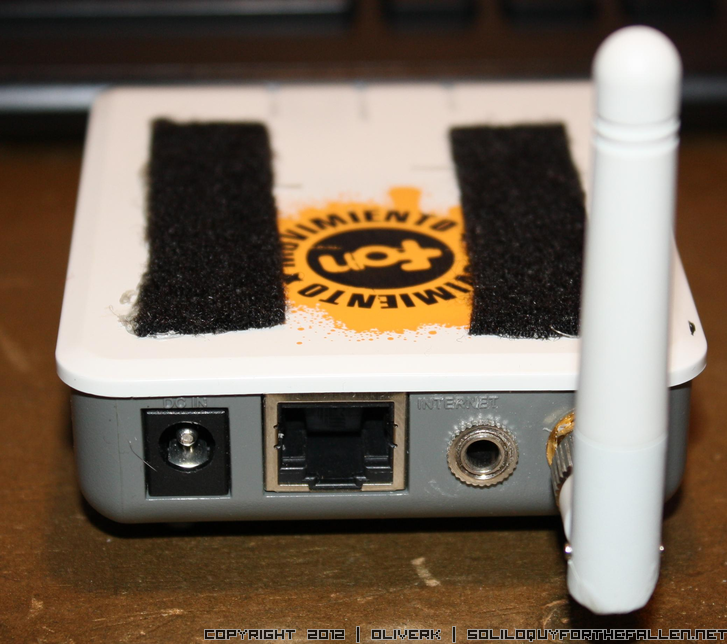
- I drilled my hole between the ethernet jack and the antenna port.
- Install the stereo audio jack, taking care to make sure that you don’t let the metal of the jack contact any of the components or contacts in the circuit board. Do not glue the jack or anything like that, just finger tighten it.
- Cull 3 wires from the connector that came with ftdifriend.
- On one end of all three wires, bend the contacts so that just after the bit that a header pin fits into.
- Fit them onto the appropriate header pins on the fonera motherboard and loop them over to the audio jack and cut them to length. Reference this page by digininja for the fonera pinout. Be conservative – you are going to use the bits that you cut off again for the serial converter adaptor so you will need these.
- Shrink wrap the female header pin receptacles so that if they wiggle they can’t bump and mess with data transmission. You could possibly just solder them on, but I didn’t like that idea at the time.
- Remove the audio plug, remember how I said finger tight?
- Strip and solder the other ends of the cables to the audio jack.
- Reinstall the audio jack. This time go ahead and tighten it up with a pair of pliers. I didn’t strip the threads but other sparkfun customers have reported that these have a tendency to strip if you put much torque on it. Be wary.
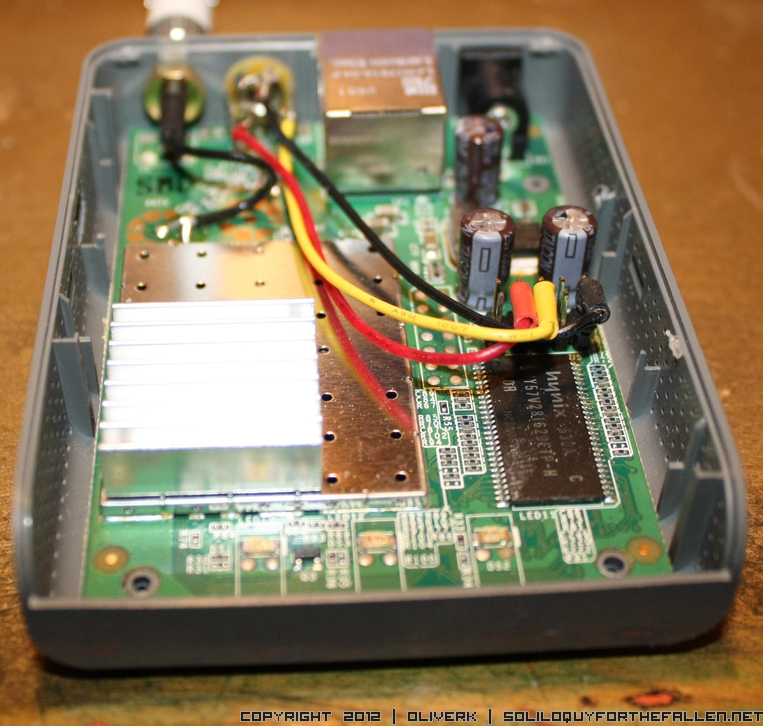
This is where you connect the female header pins to. Note the shrink wrap to keep them from shorting each other out.
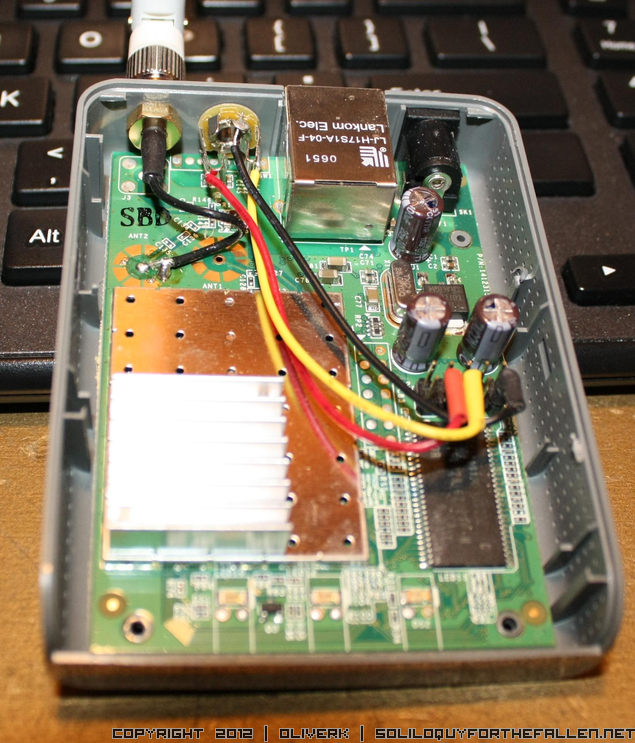
See how the wires run up to the audio jack?
The Serial converter side
- Remove the female headers from their pins on the fonera. Use a continuity tester to figure out which pin on the audio jack goes to the Tx, Rx, and Ground wires.
- Flip the Tx and Rx pin connections. Solder the three leads that you saved to the audio plug.
- Plug the other end into the respective female header pins so that you can connect it to the ftdi friend.

The End
Connect everything back up, double checking your connections are right. Then button up the case. I use GTKTerm on linux. Go ahead and fire that up (maybe as root). Boot up the fonera, plug in the ftdifriend to both the fonera and the computer. Soothe your fonera. You’re finished.