Backstory ….
I bought this thing in early 2017, and was never quite able to get it running. At the time, it was mostly do to my inexperience with 3d printers. I ended up buying a Monoprice Mini on Black Friday, and there’s quite a few projects on the blog detailing my usage. At the beginning of the year, I started having trouble with my monoprice. I was thinking about getting a prusa mini, but decided to that it would be a better idea to bring this back online. I already had the Anet (just never quite got it functioning) and it had a much bigger bed. What could go wrong, I asked myself.

So, my “process”
The biggest issue with the Anet A8 as I purchased it was that the bed didn’t stay flat. So, I built a wood cube to both store it in and help keep the flat down.
In the anet OEM firmware, when a thermistor dies the firmware turns the heaters on to try to ramp the temperature up. This could result in the printer trying to burn your house down. So, I tried to install the marlin firmware following this guide from all3dp. I had trouble compiling the firmware, but in the process of trying to update the firmware I managed to wipe the board. So, I had to figure out how to recover the firmware.
A brief guide to recovering the firmware on the anet board
Anet doesn’t burn the bootloader to the board, so to be able recover/upgrade the stock firmware you’ll need and ISP programmer. While ISP programmers with specific headers are available at various places, I wanted this now at 1AM on Saturday. You can press an Arduino Nano into service as an ISP programmer: http://www.martyncurrey.com/arduino-nano-as-an-isp-programmer/
One modification I made was to put a 1PDT switch inline with the 5 volt power line of ISP programmer so that I could isolate the Arduino (and this my computer) from the Anet’s board. You could use the switch, or make sure that you aren’t powering the board from the wall while burning the firmware. Make sure you tie the reset pin on the arduino to GND with a capacitor otherwise you’ll get a weird error that means nothing – in my case one of the three checksums would be correct but the rest would fail.
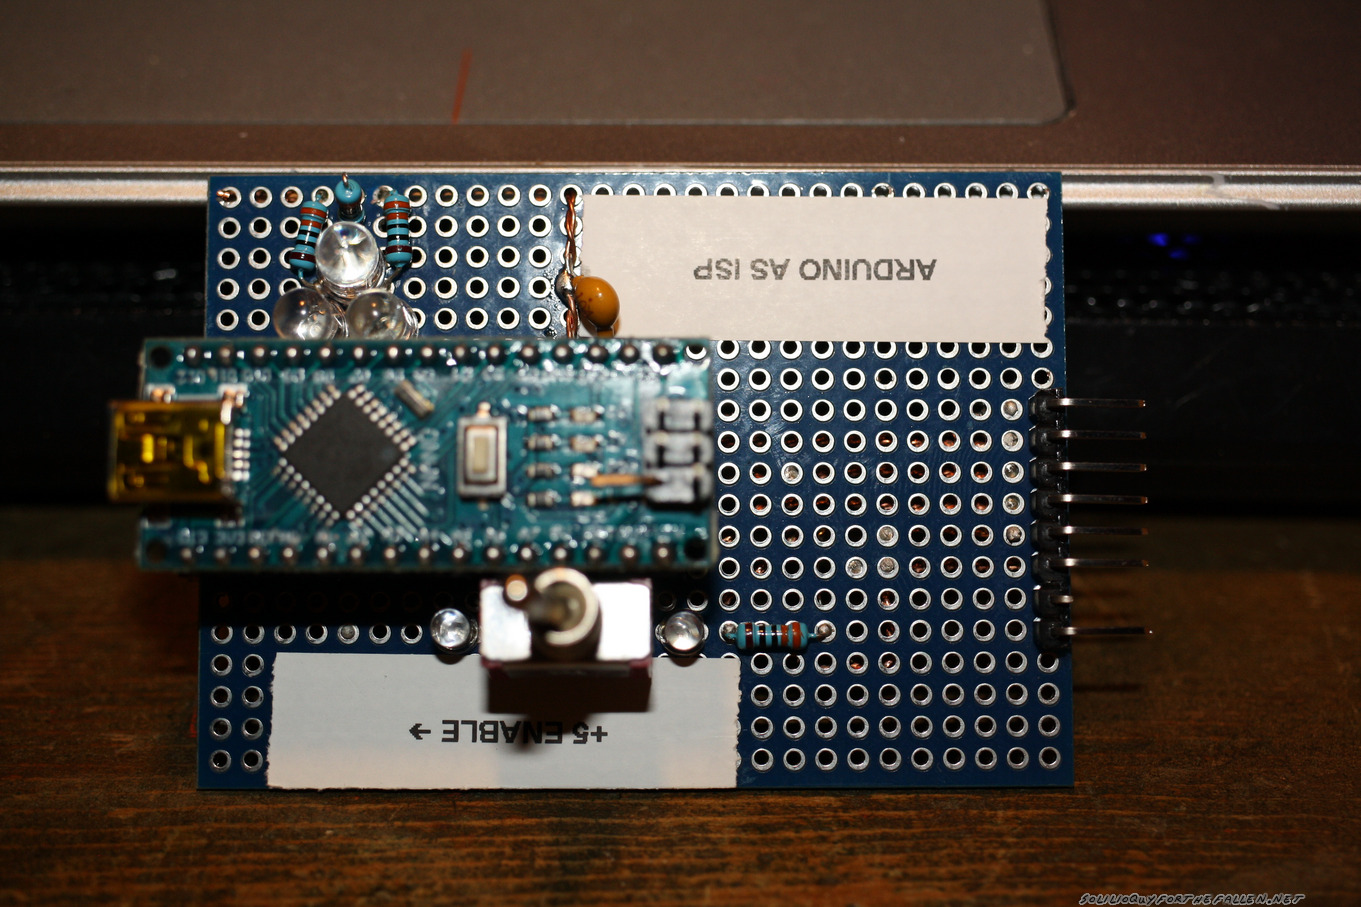
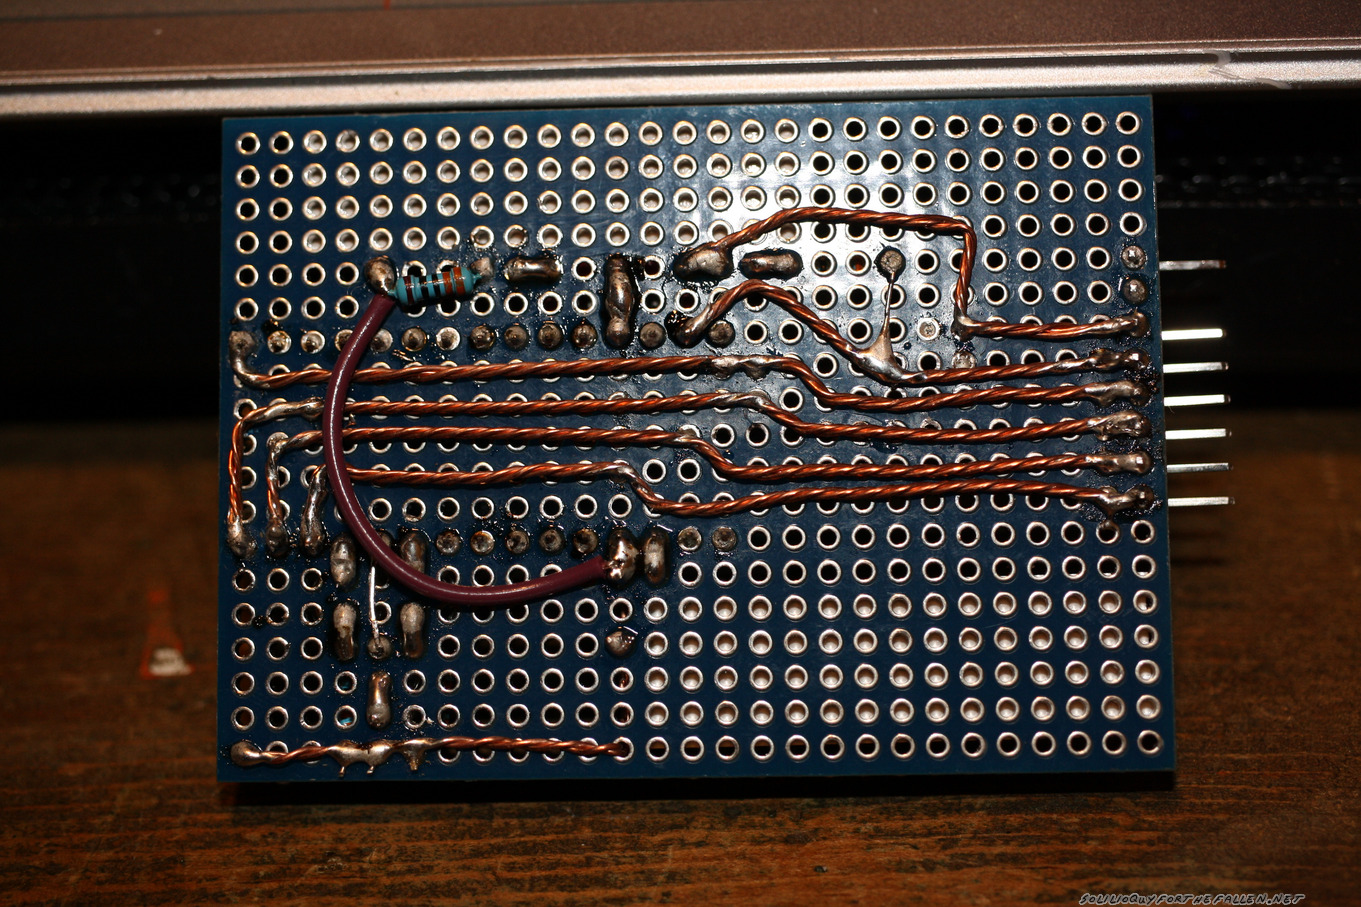
The design is kind of overkill, but I always seem to get myself into trouble and need random things like this. Next was to build an ISP header to match my board to the anet ISP header. I found image below on instructables.
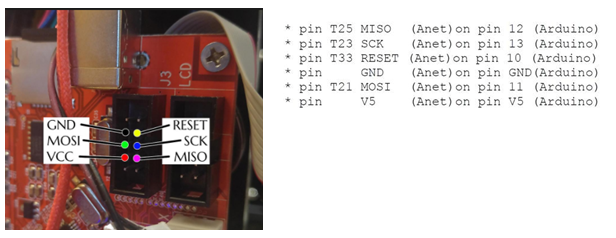
After that, connect the arduinoISP to the isp header. Start the Arduino IDE, and use the “Burn Bootloader” function in the IDE.
I still couldn’t compline the marlin firmware (compilation errors), but wanted to get the printer up and running so I decided to reinstall the oem firmware which is/was available at the Anet website. Anet distributes a hex file, so off to the command line to flash the firmware
~/arduino-1.8.12/hardware/tools/avr/bin/avrdude -c arduino -P /dev/ttyUSB0 -p m1284p -b 115200 -U flash:w:A8_chuchang20160525.hex a -C ~/arduino-1.8.13/hardware/tools/avr/etc/avrdude.conf -v -v -v -v
Can I print yet?
Technically, yes by running an SD card I could print. However, I’ve started to really like printing with OctoPrint in control. Remote control, better file management, onboard webcam. Mix in a relay to control power to the board (which I had to modify to use a car relay because the anet uses more amps then the stock relay on the board).
setup octoprint to control the relay by some custom mixing in the yaml file
Originally, I had the camera mounted to the ceiling of the cube, but I couldn’t tell if a print was lifting or not. I also had an issue where the filament bound and I wasn’t able to detect an issue from the ceiling. So, I made an from some 3/32″ tig wire so that as the z axis rises through the layers, the camera maintains a view of the nozzle. Depending on how fast the nozzle is moving I can get some shaking in the camera but I’m not trying for an instagram quality video feed.
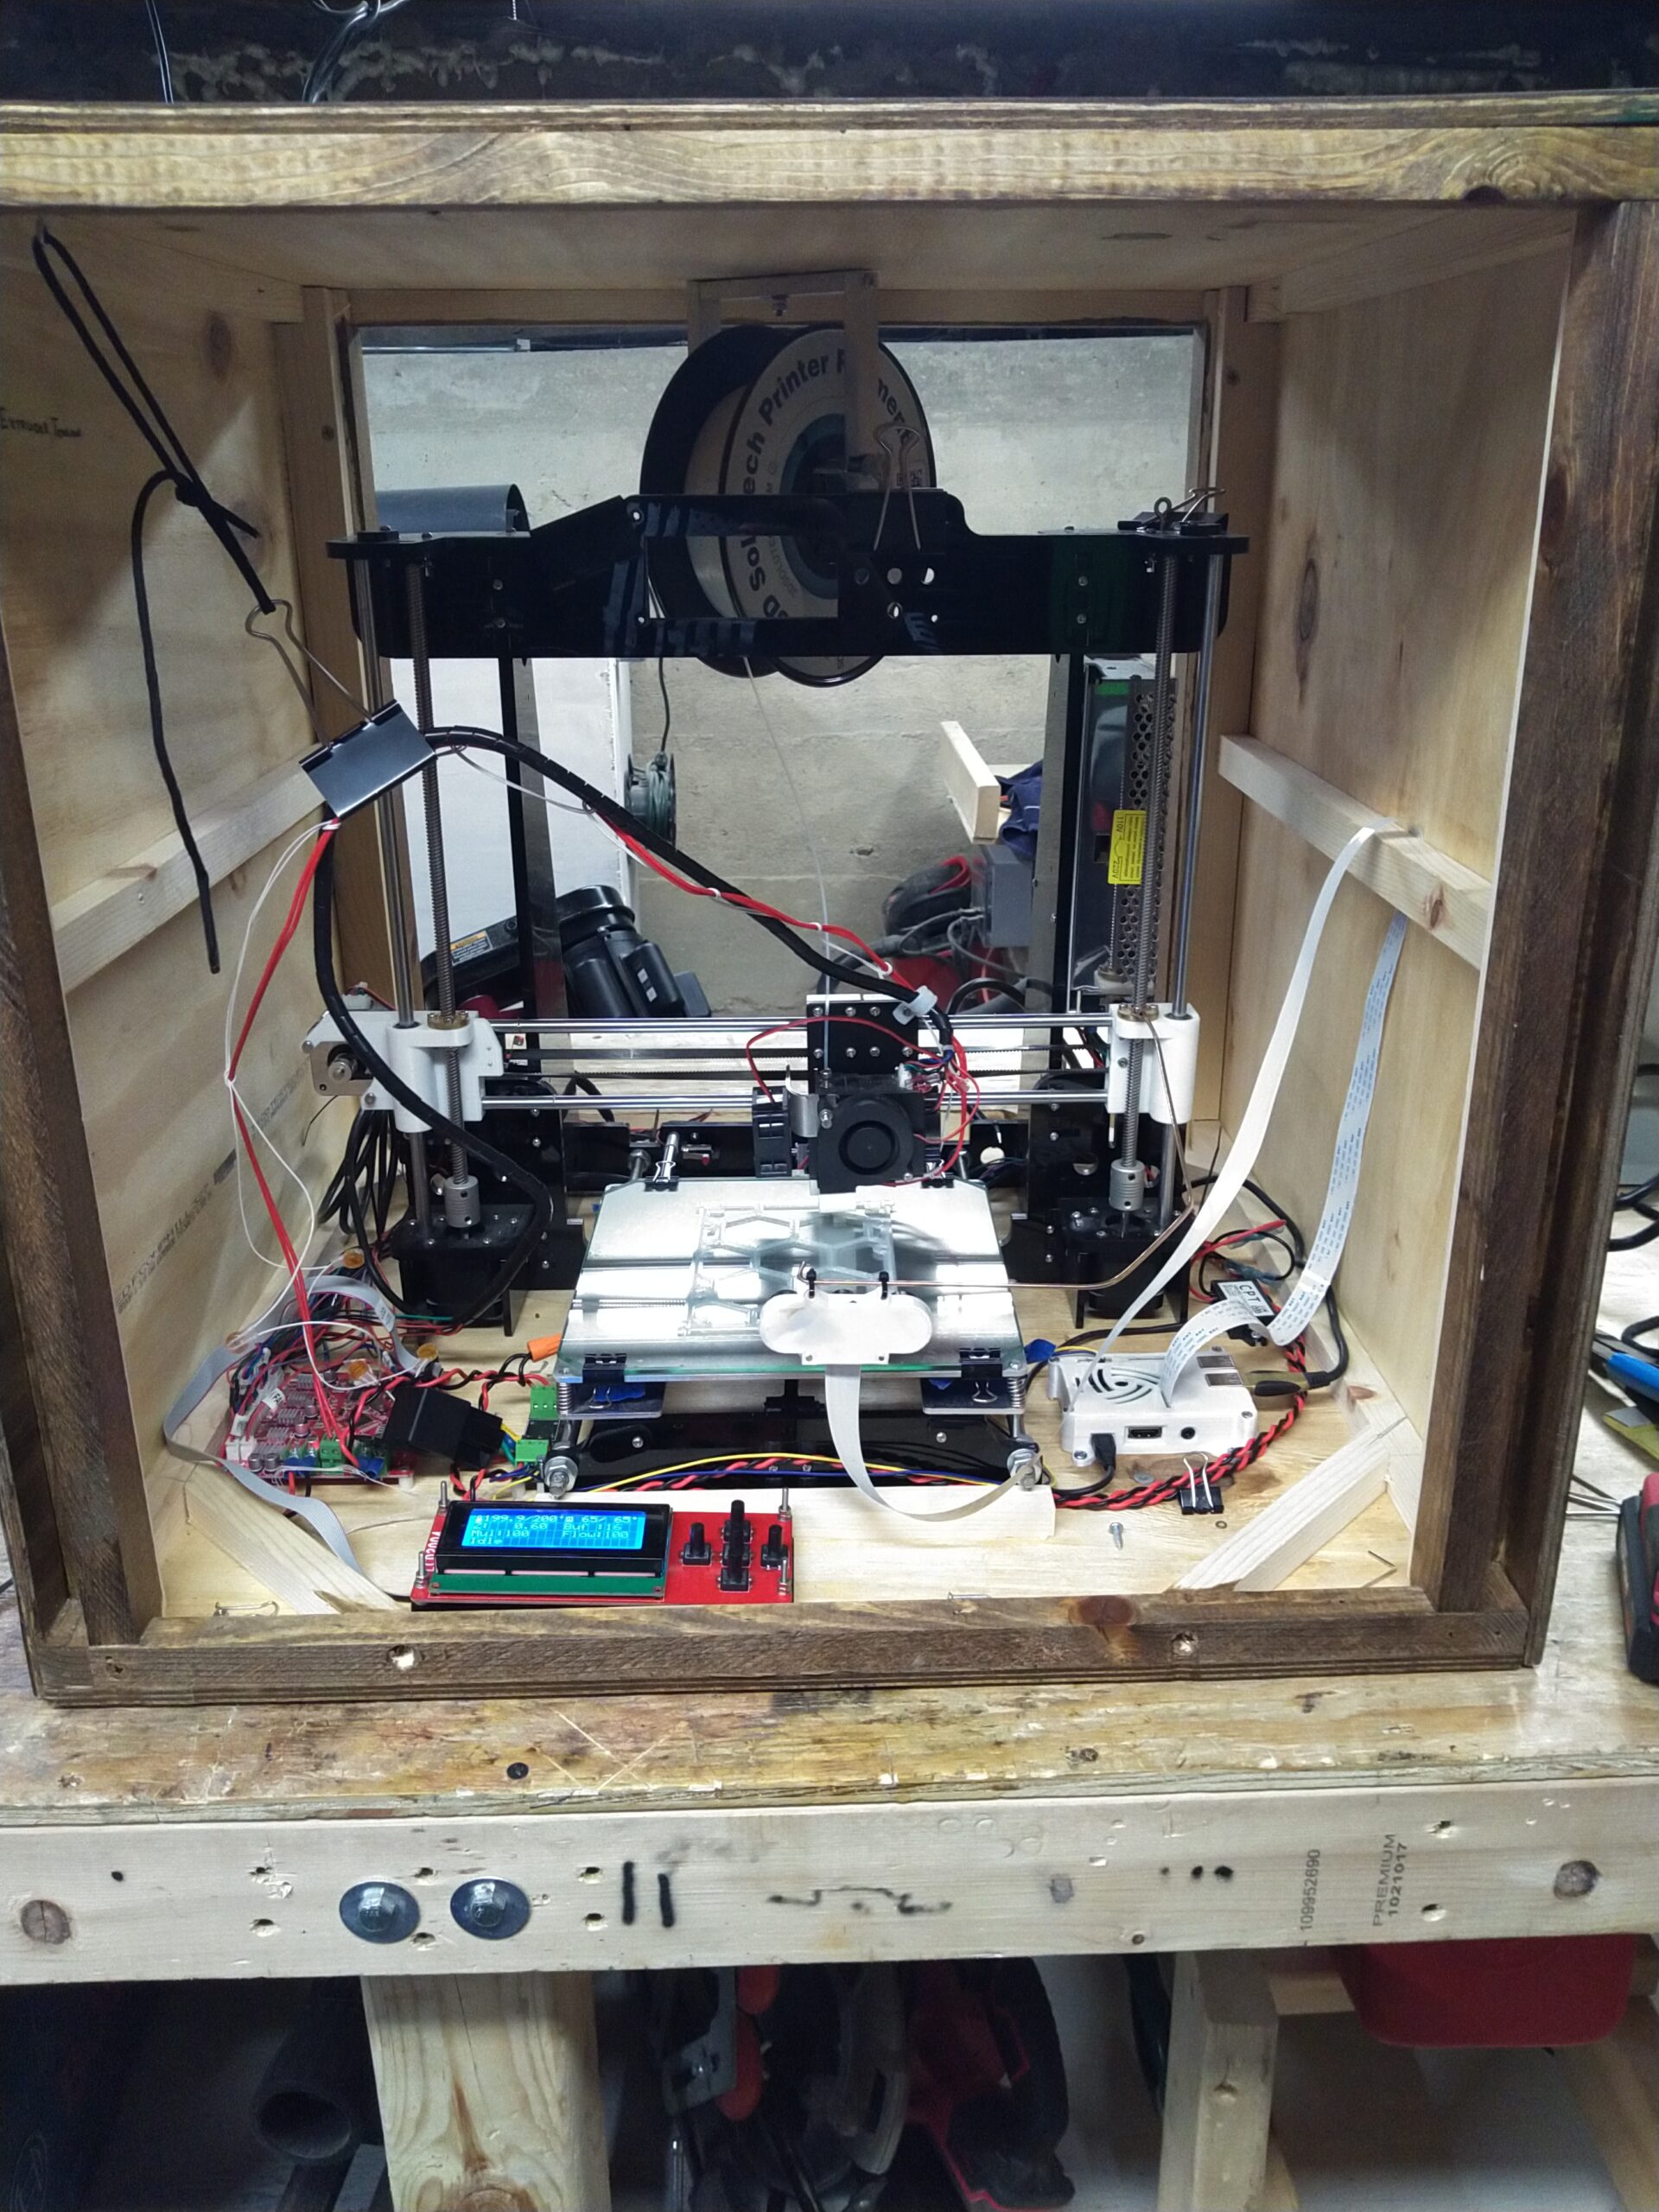
I was still having a problem with the print lifting off the bed. At that time in the basement, start up temps are 5/6°C (42°F). While the bed and nozzle maintain temp, the rest of the print doesn’t. I added a panel to the back of the cube, and a door to the front. This seems to have solved the lifting problem.
I also built a hanger for the filament spool in the cabinet. So far, its working great.
But can I print yet?
I did run a number of prints. However, one night I again experienced trouble with getting the bed up to temp. And here is what I discovered:
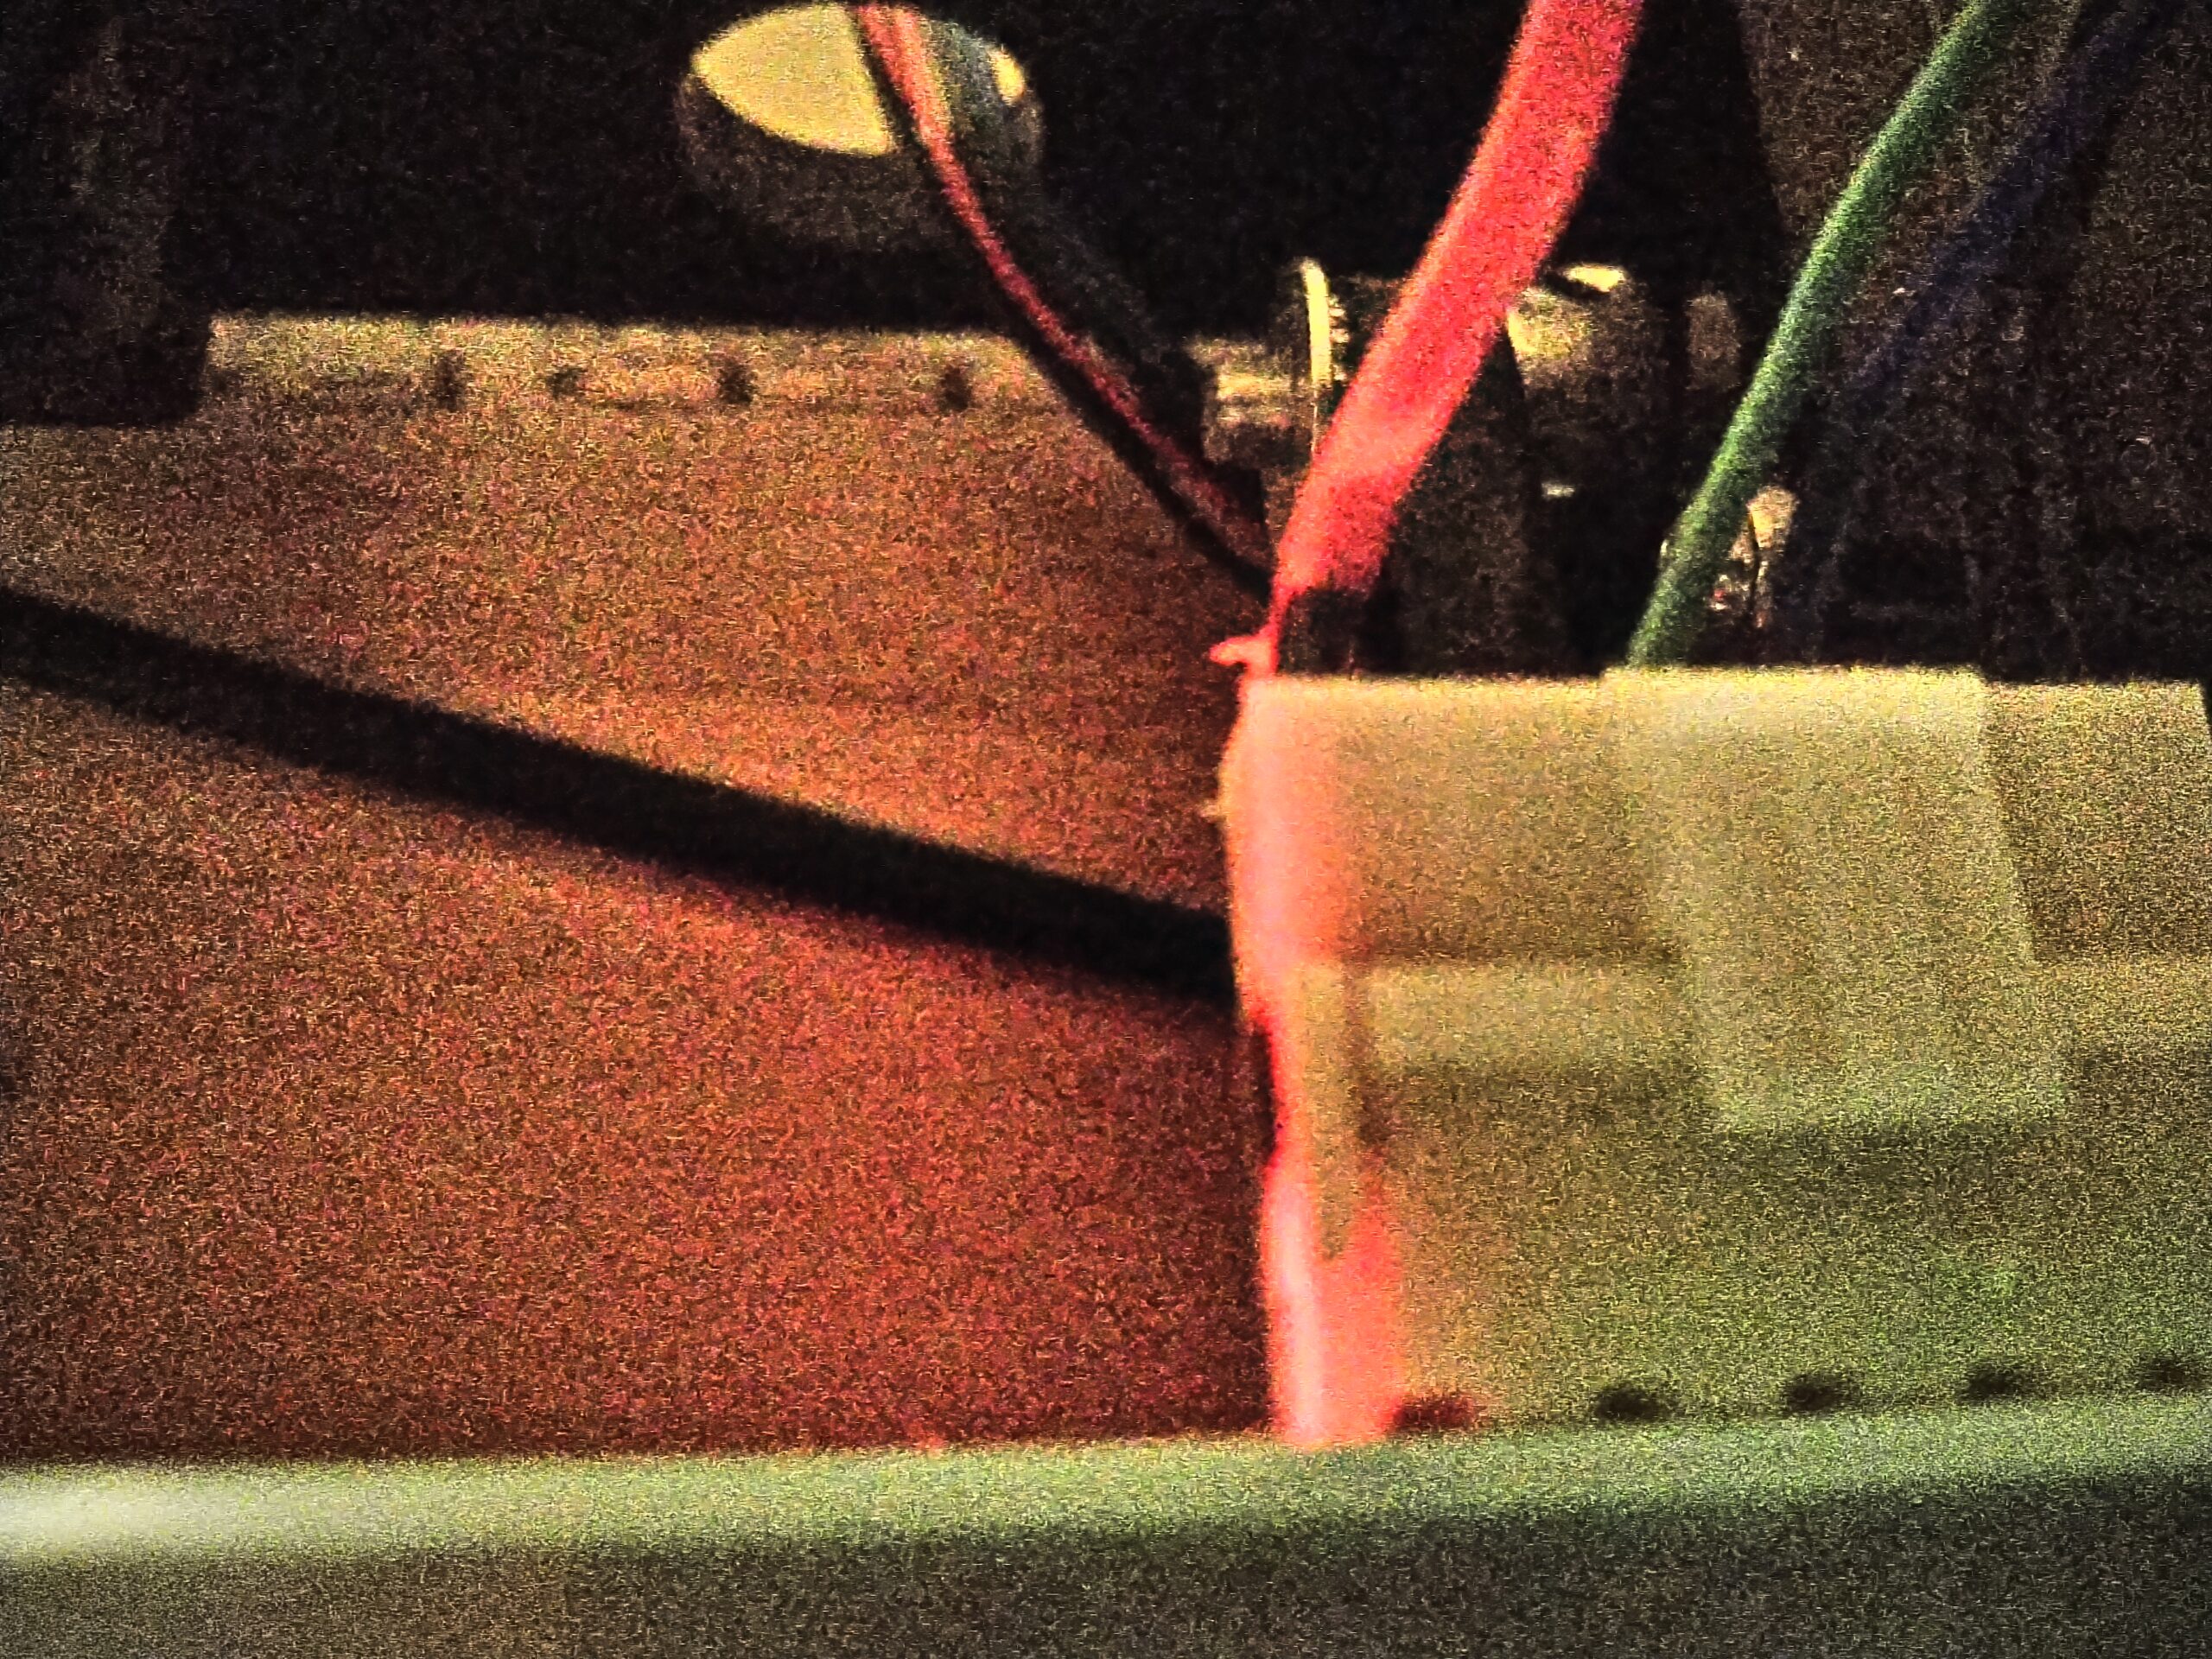
The bed connectors are technically rated for the load, but have gone bad. So, the printer is once again trying to burn my house down. So, off to Grainger for a suitable replacement. I went with these screw terminal connectors.
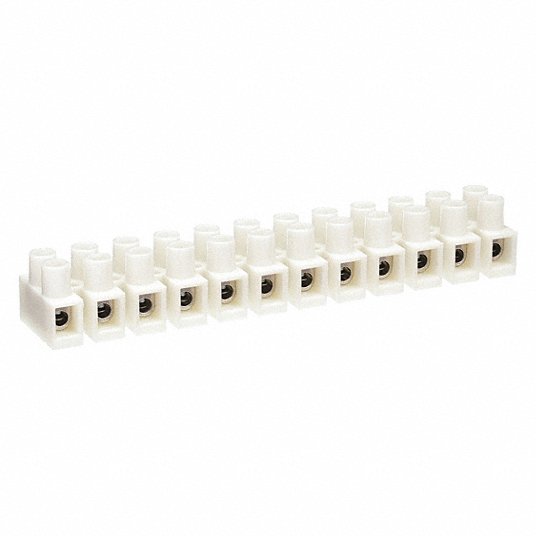
We’ll see how these work out.
So you can print now, right?
Yes, but I still want to get the marline firmware installed on the board. However, I think I’ll put that in a new blog post once I manage to accomplish that.